
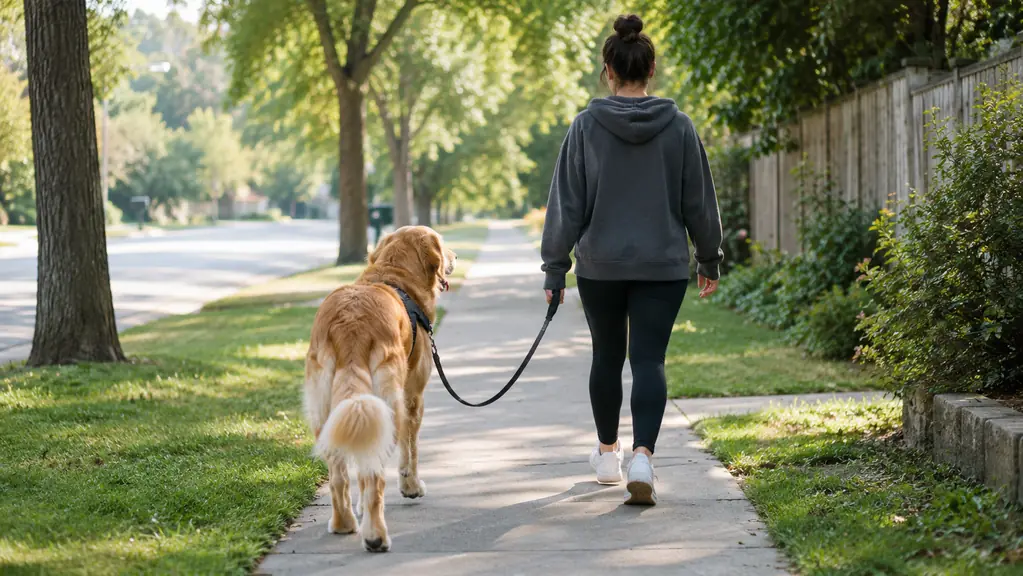
My dog Bailey used to turn every walk into an arm-wrestling match. She is a 45-pound mixed-breed rescue, six years old, and for the first month she lived with us she pulled so hard that I came home with red marks across my palm and a sore shoulder. I tried a back-clip harness, and it made things worse because she could lean into it with her whole body. I tried a head collar and she spent the entire walk trying to rub it off on the grass. Then a friend who works as a trainer suggested a front-clip harness, specifically the PetSafe Easy Walk, and told me the one thing nobody had explained before: the harness is only half the fix, and the other half is a short training plan that teaches the dog what the gentle pressure means.
This guide is that plan. It is the exact five-step method I used with Bailey over six weeks, written for anyone who is tired of being dragged down the sidewalk. I am not a professional trainer. I worked for years as a receptionist at a veterinary clinic outside Columbus, Ohio, so I have seen a lot of dogs and a lot of gear, and I have strong opinions about what holds up. The PetSafe Easy Walk is the harness that finally worked for us, and this is how to use it properly.
Start every walk with a harness that turns pulling into turning
The PetSafe Easy Walk has a front chest clip that redirects your dog's momentum back toward you, which gives you a chance to teach calm walking instead of fighting it. It has over 49,000 ratings on Amazon and it is the harness I reach for every single day.
Amazon Check Today's Price on Amazon →Step 1: Fit the harness before you ever clip on the leash
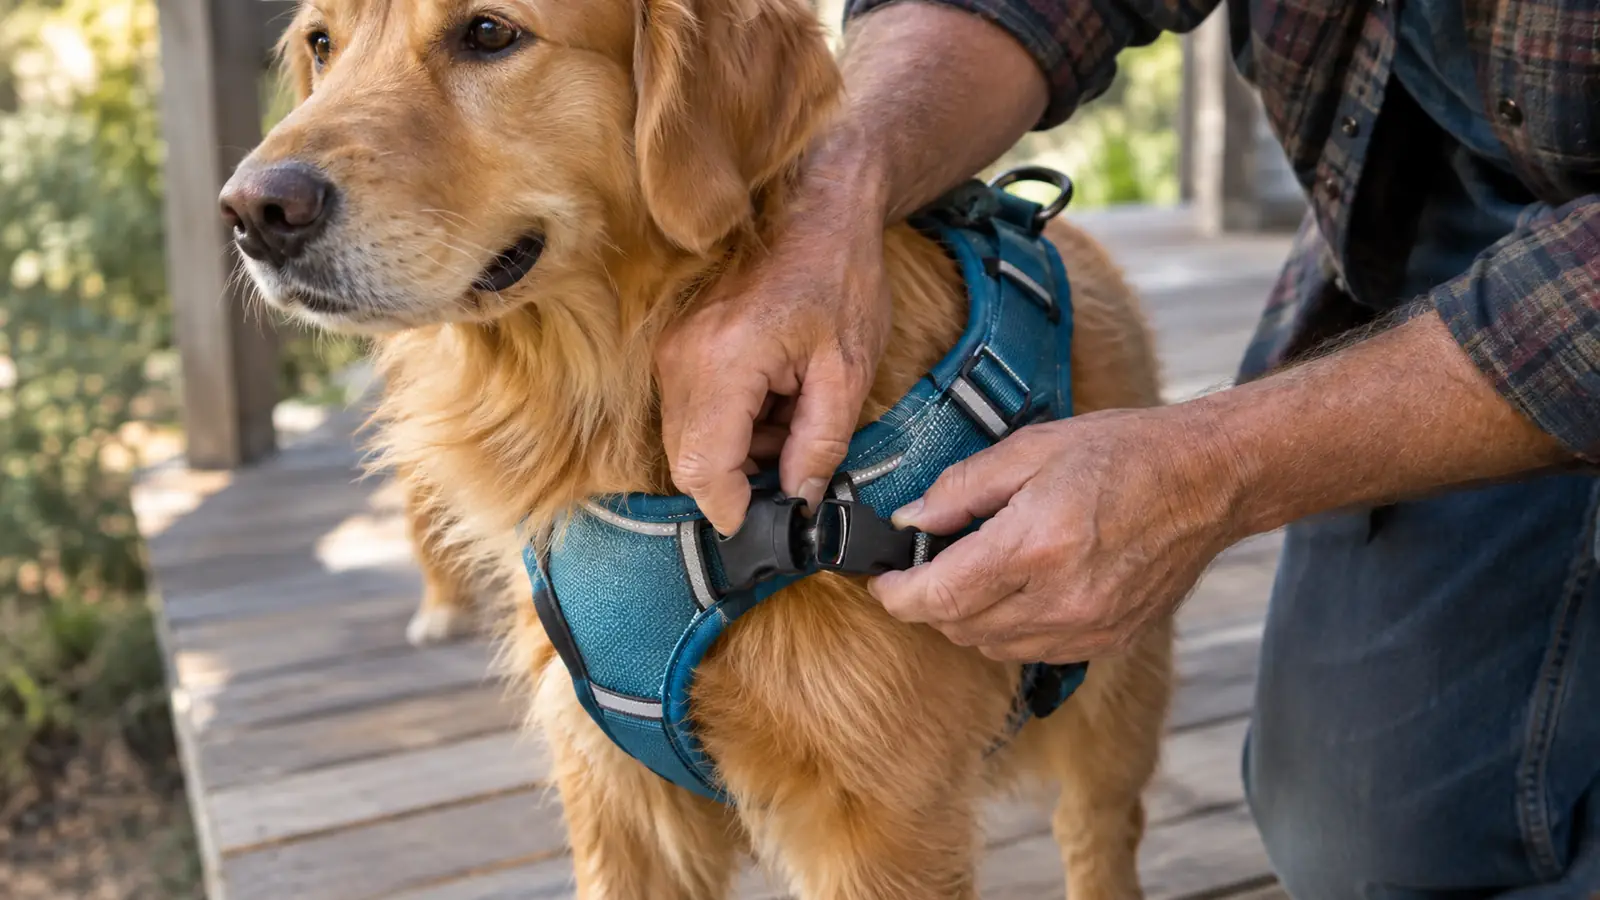
A front-clip harness only works if it fits. If it is too loose, it slides sideways and the front ring ends up under your dog's armpit, which means the steering effect disappears and your dog can pull as hard as ever. If it is too tight, your dog will fight it and you will both end up frustrated. The Easy Walk has two adjustment points, one at the chest strap and one at the girth strap, and you want a snug but comfortable fit: you should be able to slide two fingers under the girth strap, but not much more.
Bailey needed the medium size, and I have to admit the first time I put it on her I had the chest strap too loose. She took three steps, the harness twisted, and she stopped dead. I read the instructions that came with the PetSafe Easy Walk, adjusted both straps, and tried again. The difference was immediate. The front ring sat right in the center of her chest where the martingale loop could do its job, and she stopped fighting the harness entirely.
One detail worth checking: the Easy Walk has a second clip on the back, and it is tempting to use it because it feels familiar. Leave it alone for now. The entire point of this method is the front clip, and using the back clip lets your dog pull with her full body weight. You can use the back clip later for calm dogs on loose-leash walks, but for training, the front clip is the one you want.
Step 2: Let your dog get used to the harness indoors first
Do not put the harness on for the first time and immediately step out the front door. Your dog will be too distracted by the new sensation to learn anything, and you will both get frustrated. Instead, spend two or three days letting your dog wear the Easy Walk around the house for short periods, ten to fifteen minutes at a time, with no leash attached.
With Bailey, I put the harness on her in the morning, gave her breakfast as a distraction, and let her wander the kitchen and living room while I made coffee. The first day she rolled on her back and tried to paw it off. By the third day she barely noticed it. This is also the perfect time to check the fit one more time, because a dog moving naturally will show you where the straps rub or slide.
While you are indoors, practice the most important skill of all: when the leash goes slack, good things happen. Have a pocket full of small treats, and every time your dog happens to stand near you with a loose leash, mark it with a quiet word and drop a treat. You are teaching your dog that walking near you and keeping slack in the leash pays off. This sounds too simple to matter, but it is the foundation for everything that comes next.
Step 3: Teach the turn, not the correction
Here is the part that changed everything for me. When Bailey pulled on a back-clip harness, the natural instinct was to stop and brace, which turned the walk into a tug-of-war that she always won because she weighs 45 pounds and I was holding the leash with one hand and a coffee cup with the other. The front clip changes the game because when a dog pulls, the gentle pressure on the chest clip turns the dog's body, not yours. Your job is to use that moment to turn the walk around and walk the other way.
The exact sequence I used: the moment Bailey surged ahead and the leash went tight, I stopped, said her name in a cheerful voice, and turned around to walk the opposite direction. The Easy Walk's front clip meant her body naturally followed the turn instead of resisting it. When she caught up and the leash went slack, I marked it and gave her a treat. Then we turned back the way we were originally going. At first we did this a dozen times in a single block. By the end of week two, the pattern was established: pull, turn, slack, treat.
This is not a punishment. The turn is a redirection, and the treat is the reward for the behavior you actually want. What makes the PetSafe Easy Walk effective in this step is that the dog feels the signal at the chest, which is the natural steering point, instead of around the neck where a collar or a back-clip harness turns pulling into a game of tug.
Step 4: Practice in a low-distraction place before the real world
Your quiet residential street is not a low-distraction place. There are squirrels, other dogs, mail trucks, and smells that have been carefully placed by every dog in the neighborhood. Start in your backyard, or a quiet cul-de-sac, or an empty school parking lot on a weekend. The goal is to practice the pull, turn, slack, treat sequence somewhere your dog can actually focus on you.
I used my own fenced yard with Bailey, which has the added advantage of being the place where she does her business, so she had already burned off the first burst of excitement before we started training. We walked laps around the yard with the Easy Walk and the front clip, and I practiced the turn at every single fence line. When she could do three laps without a single tight leash, we moved to the sidewalk.
This is also the step where I learned to be honest about my own part in the problem. If I walked at a brisk pace and kept my attention on Bailey, she stayed focused. If I was looking at my phone, she pulled. The harness gave me the physical advantage, but consistency gave me the actual result.
Step 5: Build up to real walks and stay consistent for six weeks
Once your dog can walk calmly in a low-distraction place, start taking real walks, but keep them short and set the bar low. For the first week, aim for ten minutes around the block, using the same turn-and-reward sequence every single time your dog pulls. Do not wait for perfection before you start. Progress comes from repetition, not from long sessions.
With Bailey, the turning point came around week three, when she started glancing back at me before she reached the end of the leash. That is the moment the training clicks: the dog is choosing to check in instead of charging ahead. By week six, most of our walks were loose-leash walks, and the PetSafe Easy Walk was simply the harness we used, not a training tool we were fighting. I still carry treats, because I believe in paying for good behavior, but I need them far less often.
A few practical notes from six months of daily use: the Easy Walk holds up well, with no fraying on the straps and a martingale loop that still sits flat. It is easy to put on once you learn the two clips, and Bailey has never slipped out of it, which I cannot say for the back-clip harness she wore before. It is not a magic cure, and it will not teach your dog to walk nicely all by itself. It is a tool that makes teaching possible, and that is exactly what I want from a piece of gear.
What Else Helps
A front-clip harness does the heavy lifting, but a few extra things made the training stick for us. A treat pouch that clips to your belt keeps your hands free, and high-value treats like small pieces of chicken or cheese work better than kibble when there are distractions. A six-foot leash, not a retractable one, gives you a consistent length to work with, because a retractable leash teaches a dog that pulling is rewarded with more leash. And I found that walking Bailey right before dinner, when she was a little hungry, made her much more interested in the treats I was offering.
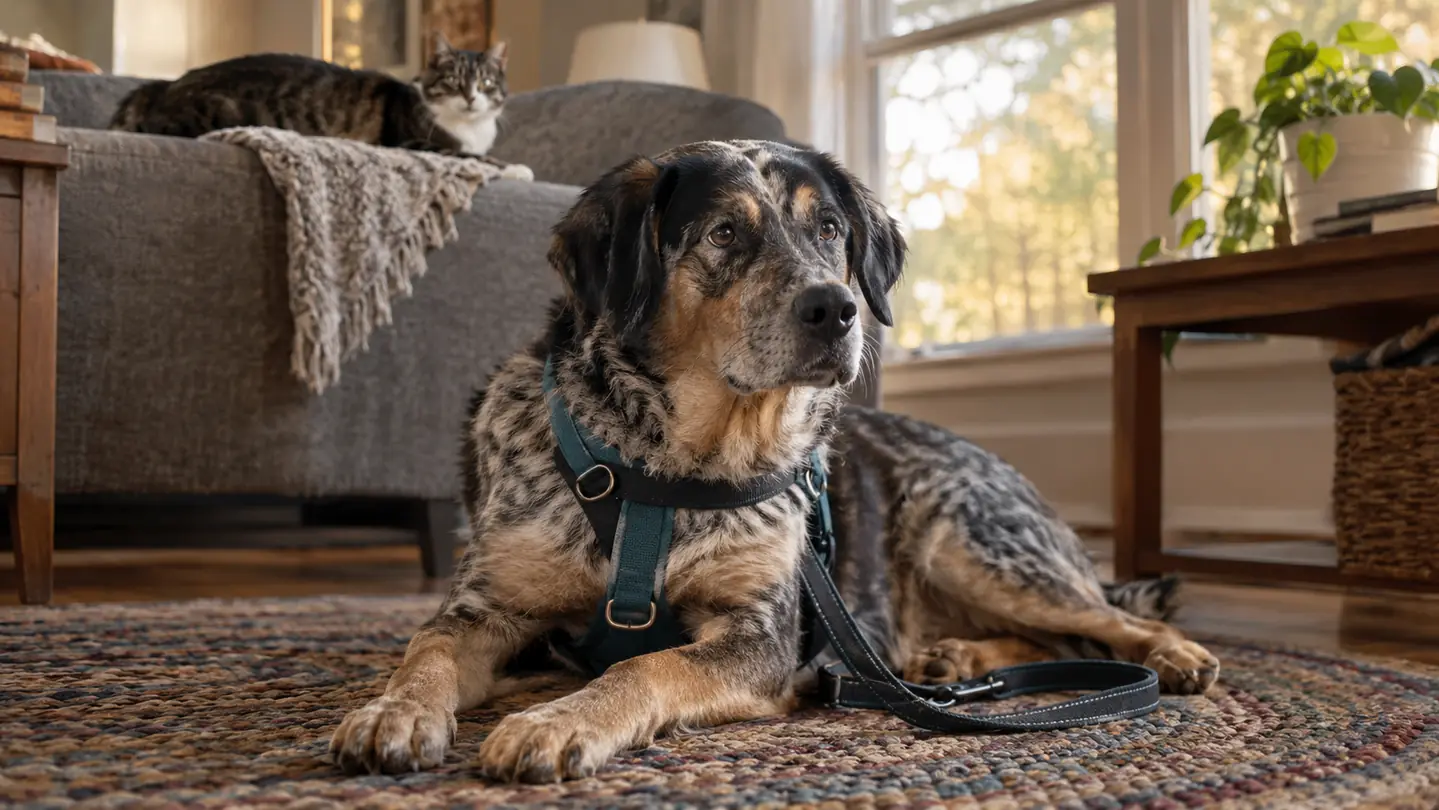
I also want to mention the rest of the household. We have an indoor cat named Pepper, and the first few times Bailey wore the Easy Walk inside, Pepper watched from the back of the sofa with deep suspicion. Once Bailey stopped jingling and rolling around, Pepper went back to ignoring her. If you have a cat at home, give your dog a few indoor sessions before the first real walk, so the whole house can get used to the new gear without anyone getting stressed.
The front clip on the PetSafe Easy Walk turned pulling into turning, and that one change made six weeks of training possible instead of impossible.
Give the front clip a real six-week trial
If your dog pulls on the leash, the PetSafe Easy Walk is the most practical place to start. Fit it properly, use the front clip, and commit to the turn-and-reward method for six weeks. It has over 49,000 ratings on Amazon and a 4.3-star average, and it is the harness I still use every day.
Amazon Check Today's Price on Amazon →